An OREA Z1 Recipe, for SEY
A low-extraction, low-agitation, clarity-focused recipe, now on the bar at SEY's Brooklyn café.
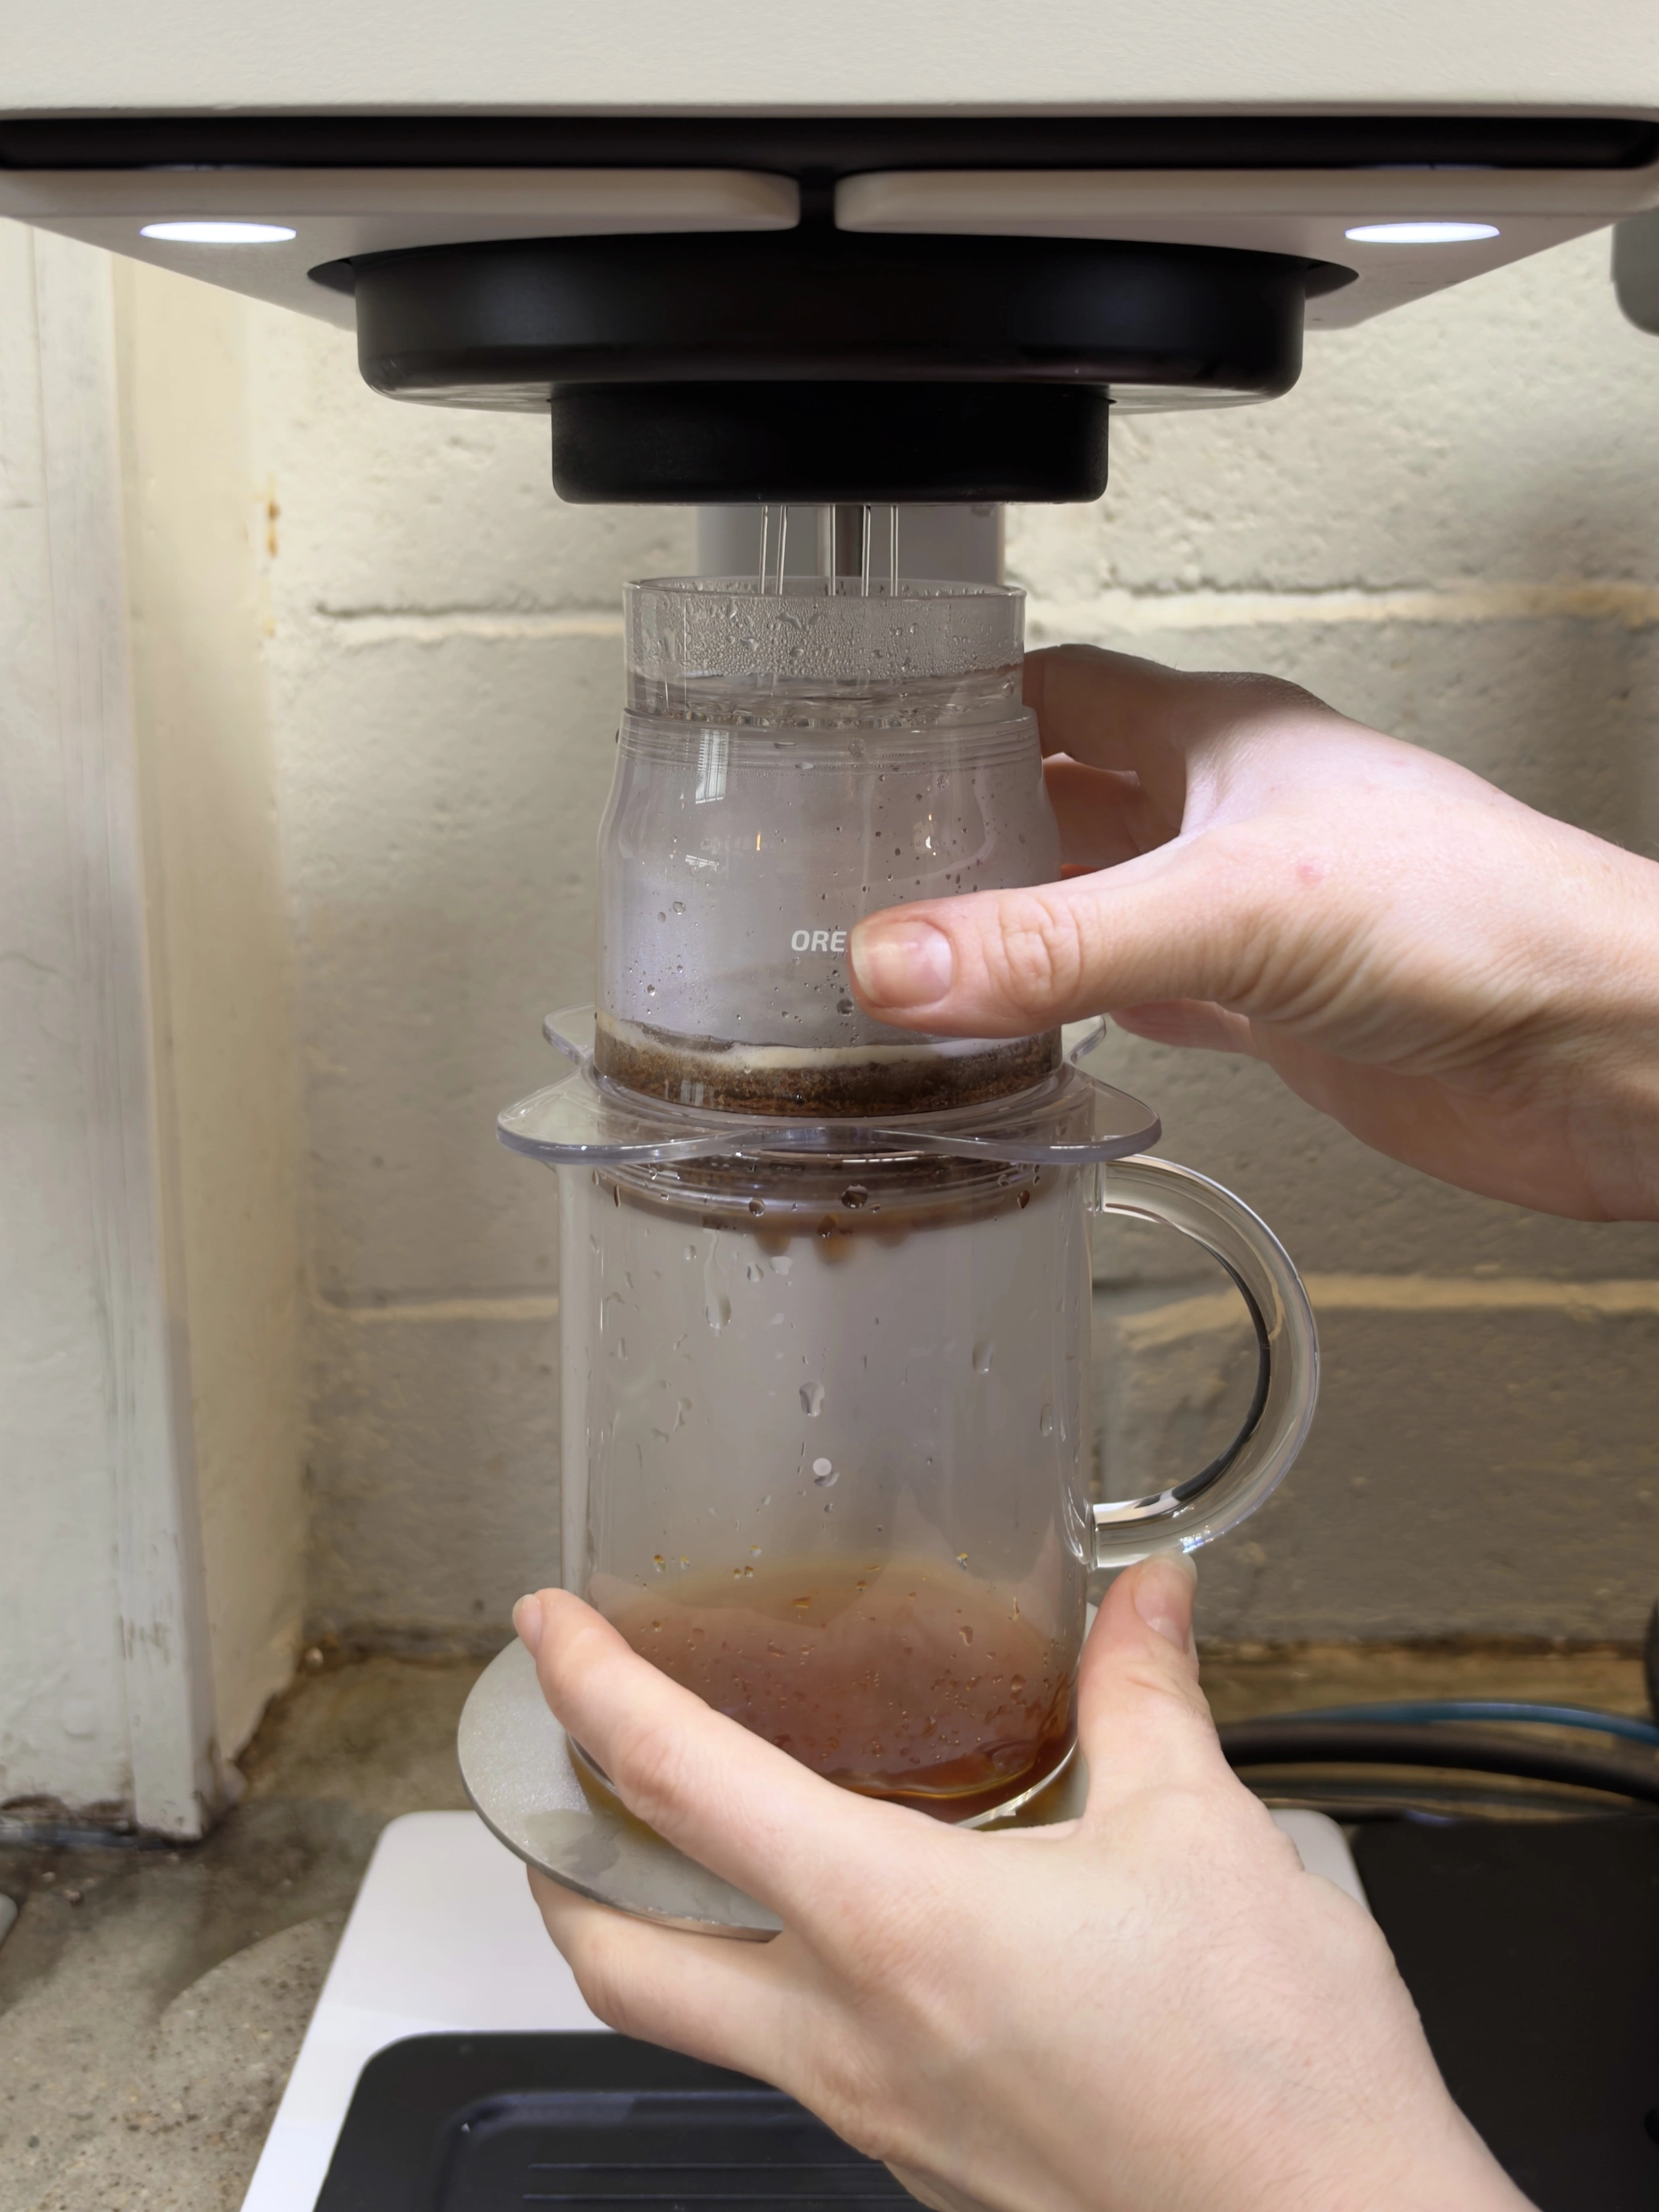
If you’ve read my articles before, you’ll know they tend to be long, sometimes unnecessarily long. But if this goes the way I hope and many of you end up bookmarking this page for the recipe, making you scroll all the way to the bottom every time would be a little cruel. So, here you go:
The Recipe
This is a manual pourover recipe I developed for SEY’s Brooklyn café. They use a TONE Touch 03 at the bar, so I’ve also noted the small adjustments we make when using it to brew.
Constants
- Dripper: OREA Z1
- The Melodrip, which comes with the Z1, is designed to drop most of the water close to where you pour, letting you vary your pouring pattern (circular pours, center pours, and so on) when brewing by hand. Unfortunately, that same design makes it a poor match for the TONE, whose fixed nozzles then tend to leave divots in the coffee bed. As a result, we use the water disperser from the NextLevel Pulsar Mini instead (sorry, Ray!). It sits nicely on top of the Z1 once the upper ring is removed.
- For manual brewing, the Melodrip works just fine.
- Filter: SIBARIST FAST OREA Z1 Special Edition
- Coffee-to-water ratio: 18g:270g (1:15)
- Water temperature: 88°C
- Brewing water: tap water at SEY’s café
- To approximate it, aim for a GH of around 23 ppm, roughly 3:1 Ca2+ to Mg2+, and a KH of around 11 ppm, all expressed as CaCO3 equivalents. The café’s water has almost no potassium, so ideally build the KH from NaHCO3 rather than KHCO3.
- Lance Hedrick’s Lotus Water recipe, which is used at SEY House (20 ppm calcium, 15 ppm magnesium, 15 ppm potassium), might also work. It’s similar in style, though harder, more magnesium-heavy, and with potassium swapped in for sodium.
- If you’re not sure about your water, any water with a low TDS (say, under 70 on a TDS pen) should work fine.
- Grind size: burr gap set to about 600 µm from chirp[A]
- I developed this recipe on a Titus Nautilus, using settings around 300°.
- SEY uses an OPTION-O LAGOM 01 with blind SSP 102mm Brew burrs, which chirps at #1.5. For this recipe they grind between #0.0 (a full rotation) and #0.5: typically #0.5 for Ethiopians and #0.0 for everything else. On paper, that is a lot coarser than my Nautilus setting, and I’m not sure why yet.
Steps
When brewing manually, use circular pours throughout. This is especially important with the Melodrip, which distributes water less widely than the Pulsar Mini’s disperser.
- Start the timer and pour 50g of water for the first bloom, wetting the bed as evenly as you can. It’s normal for most of the water to drain through almost immediately.
- At 00:15, pour another 30g of water for the second bloom. This time, some water should stay above the bed briefly instead of draining right away. While it’s still there, give the dripper a quick, gentle shake to wet all the grounds.
- At 00:30, pour 110g of water at around 4g/s, which means the pour should end at around 1:00.
- When about 1.5cm of water remains above the bed, pour the remaining 80g at the same rate, around 4g/s.
- Wait until all the water has drained, then remove the dripper.
Sanity Checks
- Target total brew time (TBT): 1:45 to 2:15
- Target strength (TDS): 1.25% to 1.35%
If your TBT and TDS land in these ranges, you’re probably on track. Personally, I find most coffees above 1.30% a little dry regardless of extraction yield (EY), so I try to stay below that. That’s entirely personal, though; I may just be more sensitive to dryness than most. If you like a stronger cup, tighten the ratio (which shortens the TBT) or grind finer (which lengthens it).
That’s the recipe. What follows is the unnecessarily long part: why low EY, why the Z1, why the recipe is designed the way it is, and more information than anyone asked for, starting with a table of contents.
The Backstory
Lance Hedrick joined SEY earlier this year, after reaching out about his interest in SEY’s green program and in the company as a whole. That may have surprised a lot of people, since his approach to brewing coffee can seem quite different from SEY’s. To be fair, SEY’s brewing technique and philosophy have never stopped evolving. Still, his arrival adds a new voice to the mix, and it’s one of the many things that prompted me to experiment more with the lower-extraction, shorter-contact-time style he generally prefers, which ultimately led to this article.
Why Low EY?
If you’ve read my previous article (which you should have), you’ll know that Lance Schnorenberg (aka SEY Lance, SEY’s cofounder and head of coffee) and I talk about brewing regularly (more about cupping, really, but that’s another article). We brew similarly, and we both used to favor high-EY brews with long contact times for their complexity and for how closely they resemble what we taste in the cupping bowl. For the same reasons, SEY’s Brooklyn café has been brewing high-EY on the AeroPress, with a fine grind and a long steep.
To be totally honest, neither SEY Lance nor I is fully convinced that low EY and short contact times are better than high EY and long ones. We do agree that it’s a direction we hadn’t explored enough. In our experience, lower-EY brews are generally less astringent (or dry, or “lingering,” depending on how you define astringency), and they’re far easier to replicate and much more forgiving.
Consistency is one reason the café brewed its high-EY coffee using the AeroPress rather than our 8-minute pourover recipe: a high-EY pourover is simply too hard to execute reliably. The trouble is, a lot of people hate the AeroPress. Maybe it’s how cloudy the brew looks (pressure is involved, so some fines inevitably end up in the cup). Maybe it’s the association with “easy morning coffee anyone can make at home.” Or maybe it really is the taste.
We like the AeroPress, especially how juicy it makes some coffees, which is hard to replicate with other brewers. We suspect the objection is mostly visual, and doubt most people could tell an AeroPress brew from a V60 brew in a blind tasting. Still, we don’t love it enough to die on that hill.
Then it struck me: a low-EY recipe’s shorter brew time could make it a great fit for the café, and since it’s also far easier to execute consistently, we could finally put a proper dripper on the bar in place of the AeroPress.
My Goals for a Low-EY Recipe
When experimenting with low-EY recipes, I had several goals:
Removing Astringency
The first and most important goal was to eliminate astringency, or get as close as I could. We still appreciate how a high-EY brew reproduces what we taste in the cupping bowl, and we have few complaints about those brews beyond the astringency and dryness we never manage to shake, no matter what we try. So reducing astringency was the priority: if the low-EY brew were still astringent, I might as well stick with our old high-EY recipe.
In our tests, a sufficiently coarse grind was by far the most effective way to minimize it.
Retaining Juiciness
Early on, the SEY team and I compared a lot of low-EY recipes, including Lance Hedrick’s double-bloom, one-pour recipe, against the AeroPress recipe they were serving. We all agreed the low-EY brews generally had a cleaner finish and less harshness, but they also felt less juicy (or less “wet,” as we tend to say), flatter, and more tea-like. We missed how “wet” the AeroPress could be with some coffees, and that wetness is one of the main things the SEY team wants in the cup.
Keeping It Easy and Consistent
Finally, the recipe had to remain easy and consistent to brew with a kettle, and ideally just as easy and consistent under the TONE, so that getting the café staff up to speed wouldn’t be a chore.
Why the OREA Z1?
With those goals in mind, I settled on the OREA Z1 for a few reasons:
- Its no-bypass design extracts very efficiently, which lets me grind even coarser at a sensible ratio and still land at a reasonable strength. Grinding coarser, in turn, reduces dryness.
- I’ve only tasted a handful of V60 brews that were completely free of dryness, while with the Z1 I find that much easier to achieve. (To head off any fights: as I said, I seem to be more sensitive to “dryness,” which isn’t necessarily astringency. Some people have a very precise definition of astringency and insist it can’t exist in low-EY brews. I have tasted it blind!) If you accept the model that dryness comes from larger molecules that the coffee bed itself filters out, partial bypass could explain it: in a V60, or any conical dripper, some water reaches the cup without passing through the full thickness of the bed, potentially carrying those molecules with it.
- In our blind tastings, the Z1 also held onto juiciness much better than the V60 or other conical drippers. Maybe that’s the reduced bypass again? I don’t have a good explanation yet.
- The low-agitation design makes it easy and consistent: pouring technique matters less, and so does the dripper’s exact position under the TONE, especially with the Pulsar Mini disperser.
Why This Recipe?
This is a simple recipe with two main pours after the bloom. The only slightly unusual part is the double bloom.
The Double Bloom
Minimizing astringency called for a very coarse grind, coarse enough that the first 50g of water drains through the bed almost immediately. That makes it harder to wet all the coffee evenly, especially under the TONE. Adding a little more water as a “second bloom” keeps water above the bed just long enough to give the brewer a gentle shake and fully saturate the grounds. It “feels” more correct, and in theory it should make extraction more even and the brew more consistent.
To me, this is really one big bloom split in two to help saturate the bed, which is why I keep the gaps between the two blooms and the first main pour short. Feel free to experiment with longer gaps, though, and let me know how it goes!
The Two Pours
After the bloom, it’s two easy pours. The final pour is smaller because there’s still about 1.5cm of water above the bed when it starts, so adding less brings the water to roughly the same height after each of the two main pours. It probably doesn’t matter much, but it certainly “feels” more correct, and looks nicer.
The A/Bs
At SEY, we trust blind tasting above all else. So, as you can imagine, a lot of effort went into blind comparisons between this recipe and others.
I had the recipe mostly worked out by early April. Around the end of May, Lance Hedrick flew in for a brewing and tasting calibration session with the SEY team and me. We also visited HYUNAH Coffee Club (much love to Kate and Hafiz!) to try out their full range of brewing gadgets. This recipe beat every other recipe we tried there in blind tastings, which gave me the confidence to do more blind A/B comparisons against the café’s AeroPress recipe.
Over the next few months, we probably ran more than 50 A/B comparisons, first with me brewing the Z1 by hand, then with the slightly modified recipe under the TONE. The Z1 won about 80% of the time, largely because of its much cleaner finish and lack of astringency.
I do feel that tasting them side by side is a little unfair to the AeroPress, though. Next to the Z1, the dryness in its finish is much harder to overlook. But with some coffees, nothing beats that big, juicy first sip from an AeroPress. As much as we love the Z1, we’re still looking for ways to make it even “wetter.”
Closing Remarks
The recipe is now in use at the café. For now, both the Z1 and the AeroPress are on the bar, and the staff decide which recipe suits each coffee. As I write this, we’re using the Z1 for Sike Bokasso, one of the best Ethiopians we released this year, with intense peach and bergamot, and for Alejandrina Maytan, our last SL9 of the season, which is extremely floral with big fruit.
I’m extremely grateful to have my recipe served at one of the best cafés in the world, by the wonderful people who work there. If you’re around, stop by, give it a taste, and let us know what you think. We’re always looking for ways to improve!
Acknowledgments
- Thanks to SEY Lance, one of the most knowledgeable people in coffee (he would deny this immediately), for everything he’s shared with me.
- Thanks to the managers at SEY, Naomi and Jaime, for buying gadgets, writing SOPs, and getting this recipe onto the bar, and to all the amazing staff at SEY for making this happen.
- Thanks to José Jijón, who just released his first coffee under his own name with SEY, for doing brew-offs with me and losing 6–0 to this recipe. That gave me a lot more confidence and eventually led to this article.
- Thanks to Doug, SEY’s director of brand strategy, for telling me that Danche brewed with this recipe on the bar was the best coffee he’s had at the café. Considering what a hater he is, that means a lot.